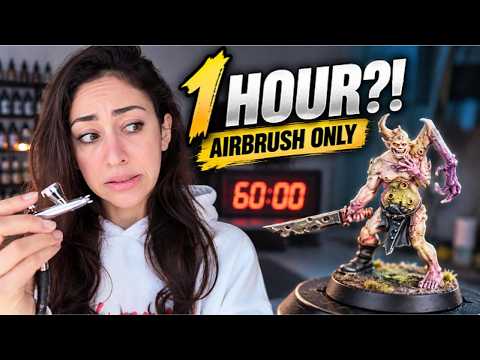
 2:31Watch her race the airbrushEpisode 04 · 1 Hour. Airbrush Only.Episode 04: one miniature, one airbrush, one hour.Watch on YouTube →
01Do you need an airbrush to paint miniatures?
No. General practice: most beginners prime with a spray can or brush-on primer and paint everything else with brushes. An airbrush is a speed and smoothness tool, not an entry ticket. It earns its place when you prime a lot of models, paint big flat areas (tanks, monsters, cloaks), or want soft top-down light.
Honest note: she has not made an airbrush tutorial or said which airbrush she owns, so this page does not name kit. What is on film is below, quoted in her own words.
02What is an airbrush good for on miniatures?
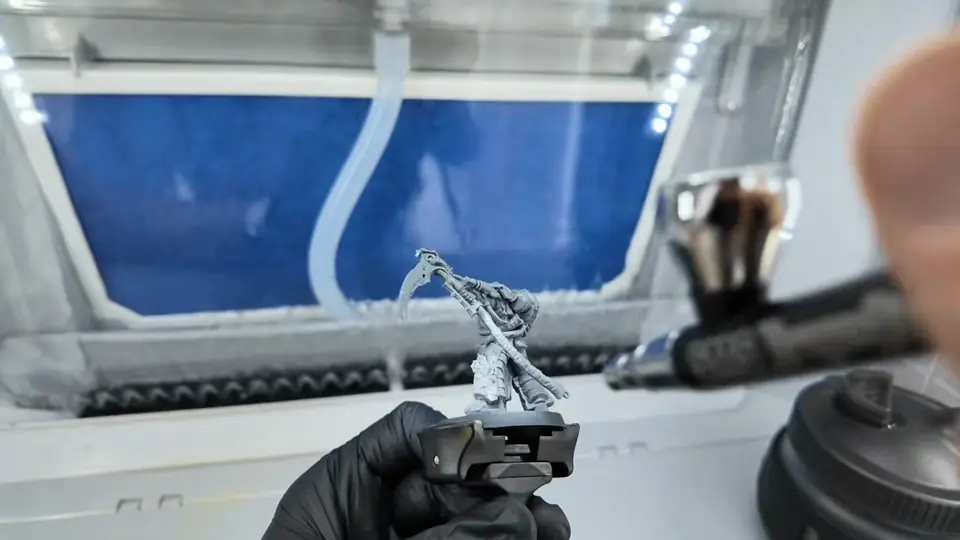
- Priming. Thin, even coats that keep detail sharp. This is how she primes, in a spray booth, holding the model on a handle. See how to prime miniatures.
- Base coats on big areas. She used it for the Elysian Green base coat on her Episode 07 tank.
- Zenithal highlights and soft fades (general practice): spray a lighter colour from above so the top surfaces catch the light.
- Not for fine detail. Eyes, edges and trim still need a brush. On the Episode 07 tank she did the metal by brush: base coat, wash, then bring the highlights back. See how to paint metallics.
03How do you airbrush a miniature, step by step?
General practice, not a claim about her exact airbrush, pressure or paints:
- Spray where the air is handled: a spray booth or a well-ventilated space, and a mask, especially with primer.
- Mount the model on a handle so you never touch the paint. She holds hers on a painting handle in the booth.
- Thin the paint to roughly skimmed-milk consistency with airbrush thinner, or use airbrush-ready paint. More on thinning: how to thin paint.
- Test on your hand, a card or a spare part first to check the flow before it touches the model.
- Spray light passes from a short, steady distance, keep moving, and start and stop the spray off the model.
- Let each coat dry before the next. Two or three thin coats beat one wet one.
- Clean the airbrush straight after, flushing with water or cleaner until it sprays clear. Dried paint is the usual cause of clogs.
04What happened when she airbrushed on camera?
Episode 04: one miniature, one airbrush, one hour. Her first two miniatures took about 20 hours each, so she set a challenge:
“My last two minis took me about 20 hours each to paint. At this rate, I will have a fully painted army in 2047. So, today I have one miniature, one airbrush, one hour.” — Episode 04
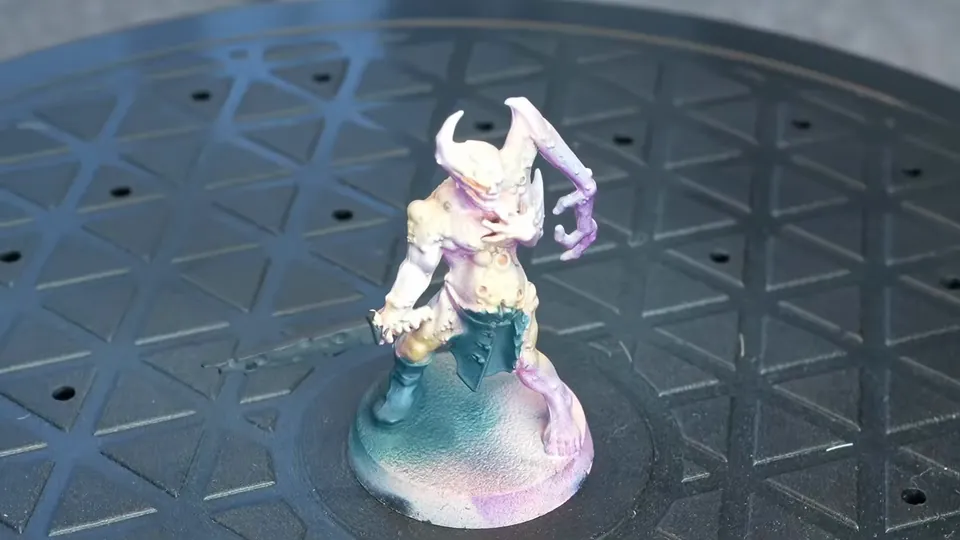
She got excited about the face (“Ooh, his face. That’s so good.”), caught herself spraying the hand by mistake, and at the buzzer:
“Is it really nice? I don’t think so, but it’s not gray anymore. So, that’s something.” … “I wanted to push myself to use the airbrush … And I would say I wasn’t really successful.” — Episode 04
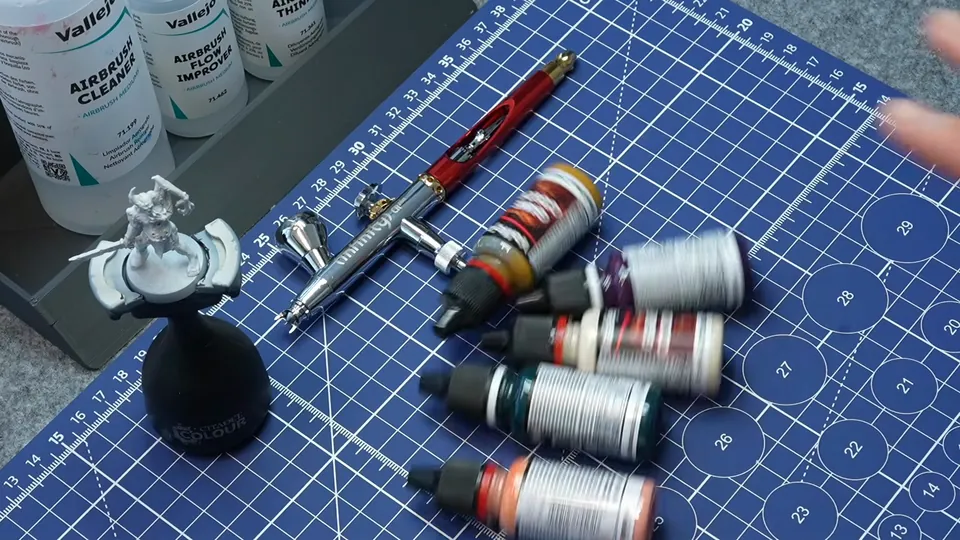
Episode 07: the base coat that melted. On her biggest model she wanted a smooth Elysian Green base coat, and had heard it can be a nightmare through an airbrush:
“Too thick, it will clog. Too thin, the coverage is bad. At first, everything was going surprisingly well. The base coat was smooth, the colors were great. Then, I realized, what is this? It looked like the miniature is melting.” — Episode 07
Her fix was patience: “I let it dry, and I base coated it again. Base coated again. Base coated again.” Later, facing all the metal on the same tank by brush: “Secretly, I wish that I had airbrushed this part.”
05What goes wrong, and how do you fix it?
General rules of thumb, with her moments where they match:
- Paint pools, runs or looks like it is melting: too much wet paint in one place. Spray lighter passes, a little further back, and let it dry between coats. That is what she ended up doing in Episode 07.
- Patchy, see-through coverage: paint too thin, or not enough coats. Build up two or three thin coats rather than one heavy one.
- Spitting or clogging: paint too thick or dried in the tip. Thin a little more and clean the nozzle and needle.
- Overspray where you did not want it: spray closer with lower flow, or mask the area. She caught herself hitting the hand in Episode 04.
- Rough, grainy finish: paint drying before it lands. Usually too far away or too little thinner.
See also common beginner painting mistakes and how long it takes to paint a miniature.
FAQ
- Is airbrushing miniatures hard?
- General practice: the basics (priming and smooth base coats) are quick to pick up; the learning curve is paint thickness, air pressure and cleaning. Her own first full airbrush attempt, a one-hour challenge in Episode 04, she calls not really successful, though the model went from grey to painted inside the hour.
- Do I need an airbrush to paint miniatures?
- No. Most beginners start with a spray can or brush-on primer and brushes. An airbrush mainly speeds up priming and large base coats. She primes with one in a spray booth, and she painted metal on her Episode 07 tank by brush while admitting she secretly wished she had airbrushed it.
- What can you use an airbrush for on miniatures?
- General practice: priming, smooth base coats on big areas, zenithal (top-down) highlights and soft colour fades. Fine details such as eyes, edges and small trim are still done with a brush.
- How thin should airbrush paint be?
- General practice: thinner than brush paint, roughly like skimmed milk, using airbrush-ready paint or a dedicated airbrush thinner. In Episode 07 she sums up the problem: too thick and it will clog, too thin and the coverage is bad.
- Why does airbrushed paint pool or look like it is melting?
- General practice: too much wet paint in one place, from spraying too close, too long, or with paint that is too thin. Spray light passes from a bit further away and let each one dry. In Episode 07 the model looked like it was melting, so she let it dry and base coated it again, several times.
